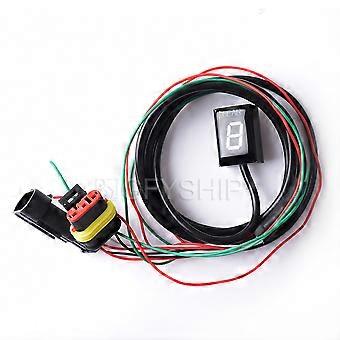
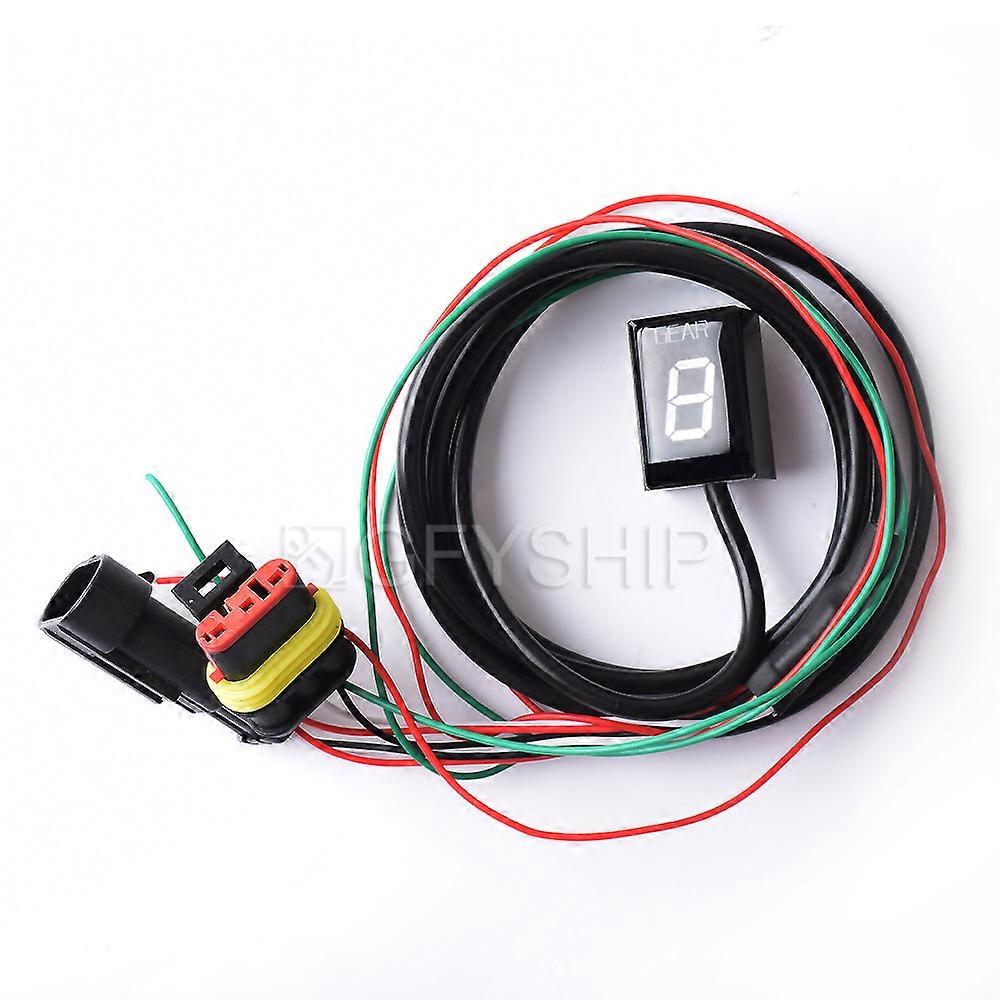
For Ducati Supersport ALL 1999 to 2007 For Ducati ST3 Non ABS 2004-2007 Motorcycle Gear Indicator Digital Gear Meter
+ 10,99 € Αποστολή
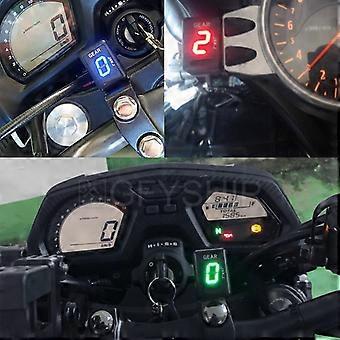
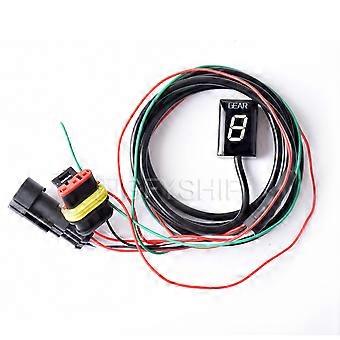
For Ducati Supersport ALL 1999 to 2007 For Ducati ST3 Non ABS 2004-2007 Motorcycle Gear Indicator Digital Gear Meter
- Μάρκα: Unbranded
For Ducati Supersport ALL 1999 to 2007 For Ducati ST3 Non ABS 2004-2007 Motorcycle Gear Indicator Digital Gear Meter
- Μάρκα: Unbranded
Αποθήκευση 10,00 € (5%)
Συνιστώμενη τιμή
Πολιτική επιστροφών 14 ημερών
Αποθήκευση 10,00 € (5%)
Συνιστώμενη τιμή
Πολιτική επιστροφών 14 ημερών
Δεχόμαστε τους ακόλουθους τρόπους πληρωμής
Περιγραφή
For Ducati Supersport ALL 1999 to 2007 For Ducati ST3 Non ABS 2004-2007 Motorcycle Gear Indicator Digital Gear Meter
- Μάρκα: Unbranded
- Κατηγορία: Εξαρτήματα Μηχανής Μηχανοκίνητων Οχημάτων
-
Szín: Red Light
- Fruugo ID: 313338733-699236888
- EAN: 592080430896
Πληροφορίες για την ασφάλεια του προϊόντος
Δείτε τις πληροφορίες για την ασφάλεια του προϊόντος που περιγράφονται παρακάτω
Die folgenden Informationen werden vom unabhängigen Drittanbieter bereitgestellt, der dieses Produkt verkauft.
Ετικέτες ασφάλειας προϊόντων

Παράδοση & Επιστροφές
Αποστέλλεται σε 3 μέρες
-
STANDARD: 10,99 € - Παράδοση μεταξύ Πέμ 25 Δεκεμβρίου 2025–Παρ 02 Ιανουαρίου 2026
Αποστέλλεται από Κίνα.
Κάνουμε ό,τι καλύτερο μπορούμε για να εξασφαλίσουμε ότι τα προϊόντα που παραγγέλνετε αποστέλλονται σε εσάς πλήρως και σύμφωνα με τις προδιαγραφές σας. Παρ' όλα αυτά, αν παραλάβετε μία ελλιπή παραγγελία ή προϊόντα διαφορετικά από αυτά που παραγγείλατε ή αν υπάρχει κάποιος άλλος λόγος που δεν είστε ικανοποιημένοι με την παραγγελία, μπορείτε να την επιστρέψετε ολόκληρη ή κάποια προϊόντα από αυτή και να λάβετε πλήρη επιστροφή χρημάτων για τα προϊόντα. Προβολή πλήρους πολιτικής επιστροφών
Details zur Produktkonformität
Bitte beachten Sie die unten aufgeführten Konformitätsinformationen zu diesem Produkt.
Die folgenden Informationen werden vom unabhängigen Drittanbieter bereitgestellt, der dieses Produkt verkauft.
Κατασκευαστής:
Οι παρακάτω πληροφορίες αφορούν τα στοιχεία επικοινωνίας του κατασκευαστή του σχετικού προϊόντος που πωλείται στο Fruugo.
- Govee Moments Limited
- Govee Moments Limited
- Room 023, 9/F, Block G, Kwai Shing Ind Bldg (Stage 2) 42-46 Tai Lin Pai Road, Kwai Chung, Nt
- Hong Kong
- HK
- 999077
- govee2020@outlook.com
- 085244096945
Υπεύθυνος στην ΕΕ:
Οι παρακάτω πληροφορίες αφορούν τα στοιχεία επικοινωνίας του επευθύνου στην Ε.Ε. Ο υπεύθυνος είναι ο καθορισμένος οικονομικός φορέας που εδρεύει στην Ε.Ε. και είναι υπεύθυνος για τις υποχρεώσεις συμμόρφωσης που αφορούν το σχετικό προϊόν που πωλείται στην Ευρωπαϊκή Ένωση.
- Van Lavazza
- Y & H S.R.L.
- Via Gravina 21 MT matera
- Puglia
- Trani
- IT
- 75100
- itlyhsrl@gmailcom
- 0039 3917722149