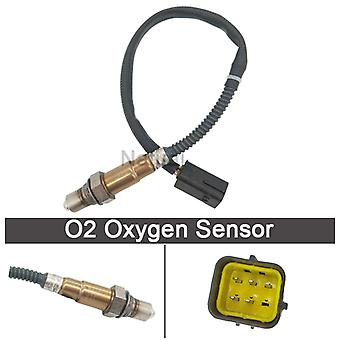
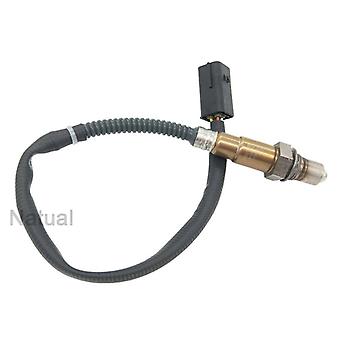
Front O2 Oxygen Air Fuel Ratio Sensor For Infiniti Qx56 Qx80 Nissan Patrol 22693-1la0b 226931la0b 22693-1la0c 226931la0c
+ 17,11 € Αποστολή


Front O2 Oxygen Air Fuel Ratio Sensor For Infiniti Qx56 Qx80 Nissan Patrol 22693-1la0b 226931la0b 22693-1la0c 226931la0c
- Μάρκα: Unbranded
Front O2 Oxygen Air Fuel Ratio Sensor For Infiniti Qx56 Qx80 Nissan Patrol 22693-1la0b 226931la0b 22693-1la0c 226931la0c
- Μάρκα: Unbranded
| Αρχική τιμή: | |
| Τιμή: | |
| Κερδίζετε: | 37,92 € (33%) |
Σε απόθεμα
Δεχόμαστε τους ακόλουθους τρόπους πληρωμής
Περιγραφή
- Μάρκα: Unbranded
- Κατηγορία: Αισθητήρες & Μετρητές Μηχανοκίνητων Οχημάτων
- Fruugo ID: 170966241-365566235
- EAN: 9056007184671
Παράδοση & Επιστροφές
Αποστέλλεται σε 24 ώρες
-
STANDARD: 17,11 € - Παράδοση μεταξύ Τρί 14 Οκτωβρίου 2025–Τετ 22 Οκτωβρίου 2025
Αποστέλλεται από Κίνα.
Κάνουμε ό,τι καλύτερο μπορούμε για να εξασφαλίσουμε ότι τα προϊόντα που παραγγέλνετε αποστέλλονται σε εσάς πλήρως και σύμφωνα με τις προδιαγραφές σας. Παρ' όλα αυτά, αν παραλάβετε μία ελλιπή παραγγελία ή προϊόντα διαφορετικά από αυτά που παραγγείλατε ή αν υπάρχει κάποιος άλλος λόγος που δεν είστε ικανοποιημένοι με την παραγγελία, μπορείτε να την επιστρέψετε ολόκληρη ή κάποια προϊόντα από αυτή και να λάβετε πλήρη επιστροφή χρημάτων για τα προϊόντα. Προβολή πλήρους πολιτικής επιστροφών